
Ceiling fans aren’t just for keeping cool; they’re the unsung heroes of home comfort. Imagine breezy days and cozy nights, all with a flick of a switch. But before you can bask in that blissful airflow, there’s the small matter of installation. Fear not! Installing a ceiling fan can be as easy as pie—or at least as easy as assembling that IKEA furniture you swore you’d never tackle again.
Tools Needed for Ceiling Fan Installation
Gathering the right tools simplifies the ceiling fan installation process. A well-prepared toolkit can make the project efficient and enjoyable.
Essential Tools
- Screwdriver: A flathead and Phillips screwdriver help secure screws in various components.
- Drill: A power drill assists in pre-drilling holes for mounting brackets or anchors.
- Wire Cutters: These tools cut through electrical wires, ensuring safe handling during installation.
- Wire Strippers: Strippers remove insulation from electrical wires, making proper connections easier.
- Volt Meter: A volt meter checks for electrical current, ensuring safety during the installation.
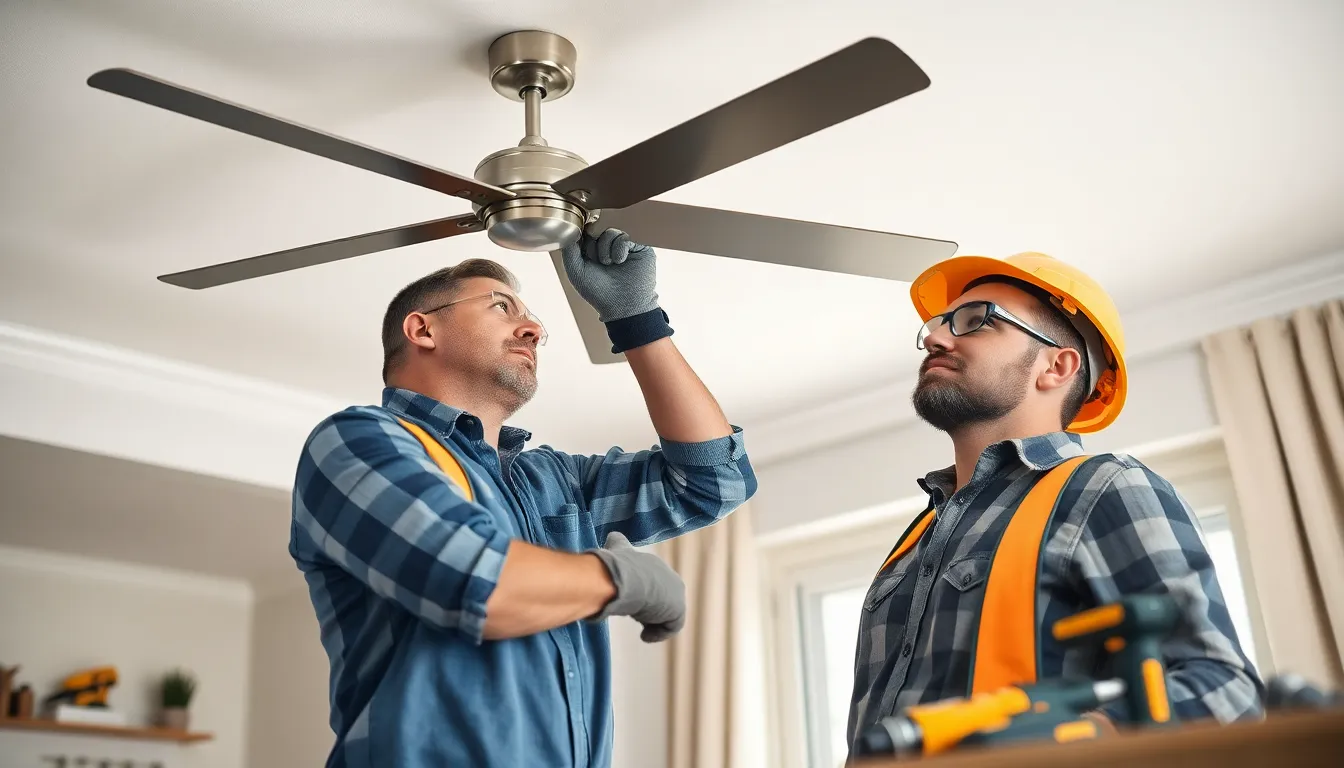
Recommended Safety Gear
- Safety Glasses: Protect eyes from debris when drilling or cutting materials.
- Gloves: Durable gloves shield hands from sharp edges and hot surfaces during installation.
- Hard Hat: A hard hat guards against accidental falls or bumps when working on elevated surfaces.
- Non-slip Shoes: Sturdy shoes prevent slips and provide stable footing while working on ladders.
- Face Mask: A mask minimizes inhalation of dust or particles during the installation process.
Preparation Steps for Ceiling Fan Installation
Preparation is key for a successful ceiling fan installation. Following a few essential steps can simplify the process greatly.
Choosing the Right Location
Selecting the right location for a ceiling fan impacts airflow and efficiency. Favor spots that provide maximum circulation, such as central areas within a room. Ensure there’s enough clearance from walls, furniture, or decorations. The fan’s height from the floor should be at least seven feet for optimal safety and effectiveness. Also, avoid placing it directly above beds or seating areas to prevent wind gusts from causing discomfort.
Checking Electrical Wiring
Inspecting electrical wiring before installation is crucial for safety and functionality. Turn off the power supply at the circuit breaker to prevent electrical shock. Use a volt meter to confirm that no current flows through the existing wiring. Ensure wiring can support both the fan’s weight and power needs by checking wattage requirements on the fan’s specifications. Consulting a professional electrician may help if uncertainties arise regarding wiring suitability or capacity.
Step-by-Step Guide to Ceiling Fan Installation
Ceiling fan installation involves several key steps for a successful setup. Following these instructions ensures proper functionality and safety.
Mounting the Bracket
Begin by selecting a sturdy ceiling joist for mounting the fan bracket. A secure mount is crucial for stability. Align the bracket with the ceiling and use a drill to attach it to the joist with screws. Ensure all screws are tightened firmly to prevent any wobbling or creaking. Afterward, confirm the bracket is level by using a level tool before proceeding to the next phase.
Connecting the Wires
With the bracket secure, it’s time to connect the electrical wires. Strip the ends of the wires from the ceiling and fan, exposing about half an inch of copper. Match the wires according to color: typically black to black for the hot wire, white to white for the neutral wire, and green or bare to the ground. Use wire connectors to secure the connections tightly, ensuring no exposed copper is visible. After completing the connections, carefully tuck the wires into the ceiling, preparing for the fan assembly.
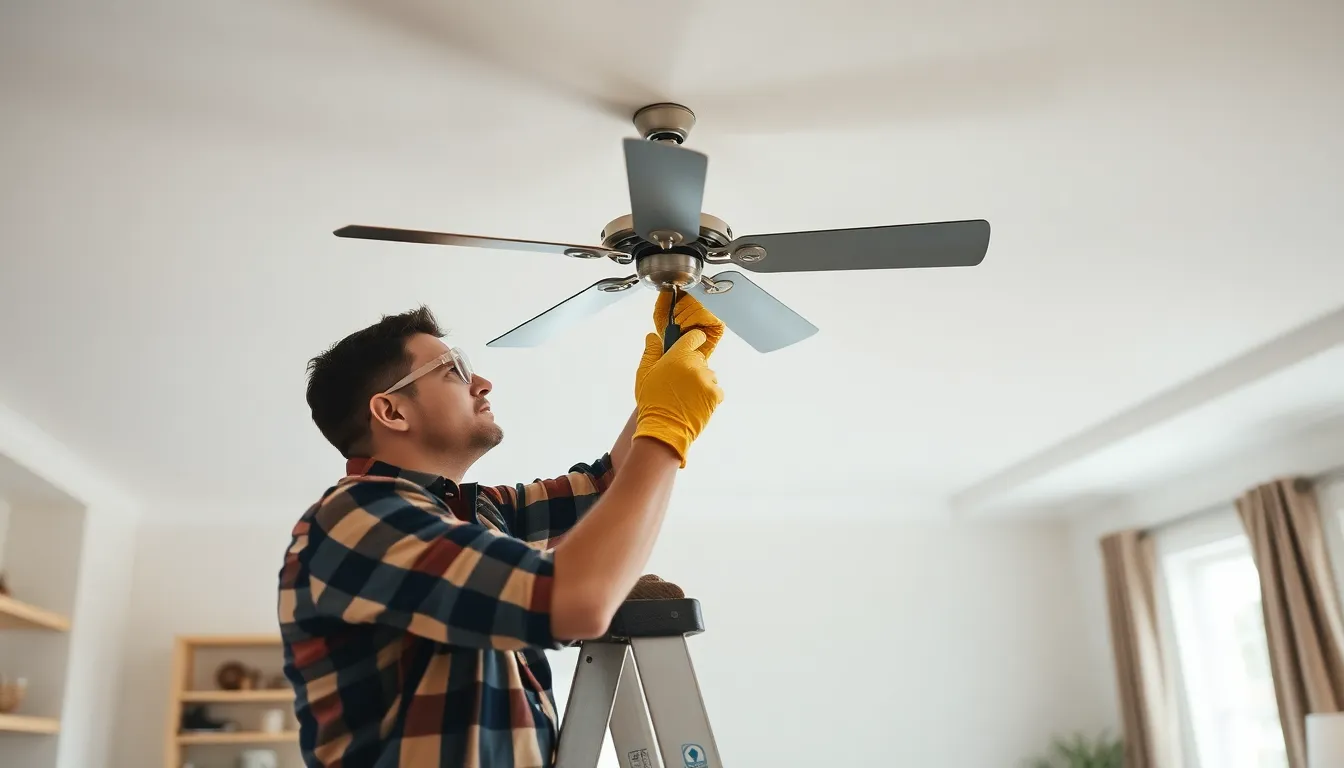
Securing the Fan Blades
Next, it’s necessary to attach the fan blades securely. Position each blade onto the fan motor, aligning them with the pre-drilled holes. Use the provided screws to fasten the blades, ensuring they are evenly spaced and properly aligned. After attaching all blades, double-check that each screw is tightened and blades spin freely. This step maximizes airflow efficiency once the fan is operational.
Common Mistakes to Avoid
Several common mistakes can hinder a successful ceiling fan installation. Avoiding these errors ensures safety and functionality.
Incorrect Wiring
Incorrect wiring poses a significant risk during installation. Many people overlook the correct color matching of wires, leading to potential shorts or electrical faults. It’s crucial to connect the black wire to the fan’s black wire and the white wire to the white wire. Failing to use wire connectors properly can result in loose connections that may cause the fan to malfunction. Always confirm the power is off using a volt meter before working on wiring. Double-checking the connections prevents issues down the line, including flickering lights or complete failure of the fan.
Neglecting the Weight Support
Neglecting weight support can lead to dangerous consequences. Ceiling fans require a sturdy mounting bracket attached securely to a ceiling joist. Many individuals mistakenly install fans using only drywall or other non-structural materials, risking the fan’s stability. Using an appropriate anchoring method is essential to ensure proper installation. If unsure about the ceiling’s integrity, consult a professional electrician. Proper weight support prevents accidents and ensures long-lasting performance, providing peace of mind when operating the fan.
Maintenance Tips for Ceiling Fans
Ceiling fans require regular maintenance to ensure optimal performance. Keeping them clean and addressing any unusual noises enhances their lifespan.
Regular Cleaning
Cleaning the ceiling fan should occur at least once a month to prevent dust buildup. Dust and debris can hinder airflow and reduce efficiency. A microfiber cloth or a damp rag works well for wiping down the blades. Turn off the fan and clean the blades gently, being sure to reach all areas. One should also check the motor housing and light fixtures for dust, cleaning these components as needed. Regular cleaning not only improves aesthetics but also maintains energy efficiency.
Troubleshooting Unusual Noises
Unusual noises from a ceiling fan often indicate a need for adjustment or repair. A rattling sound might suggest loose screws or components. Tightening these parts often resolves the issue. If the fan produces a humming noise, issues with the electrical connections may exist. Checking connections and ensuring they’re secure can help. In cases of persistent noise, it’s wise to consult a professional. Addressing these sounds promptly helps maintain optimal performance and safety.
Successfully installing a ceiling fan can significantly enhance home comfort and energy efficiency. By following the outlined steps and taking necessary precautions, anyone can tackle this project with confidence. Proper preparation and attention to detail ensure a safe installation that maximizes airflow and functionality.
Regular maintenance is equally important to keep the fan performing at its best. Simple tasks like cleaning the blades and addressing any unusual noises promptly can prolong the fan’s lifespan. For those uncertain about any aspect of the installation, seeking professional assistance is always a wise choice. With these tips in mind, enjoying the benefits of a ceiling fan becomes an achievable goal.


